Need Some Help ?
Find Your Answers Here!
Google Tag Manager Installation
Follow Step 1 on the installation and customization instructions to customize your widget if desired. Please then refer to the instructions below for Step 2.
How to install accessibility widget using Google Tag Manager
1. Log in to your Tag Manager account here with your account email address and password.
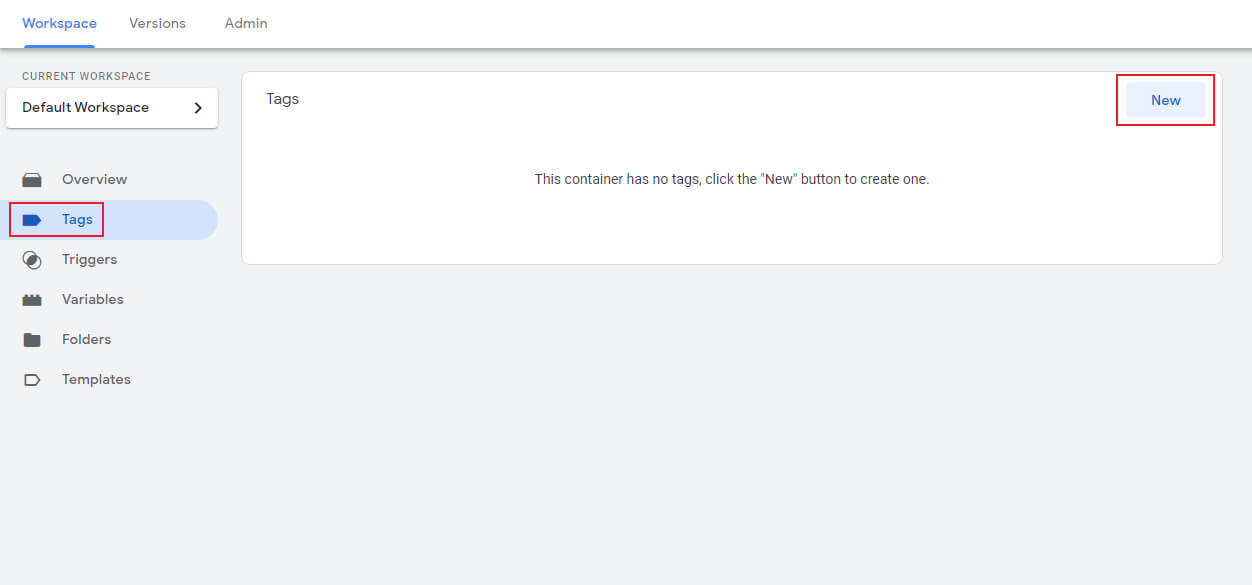
2. In the left side menu, click “Tags” and then on the “New” button.
3. Change the tag name to “accessibility widget – Pixel” or a similar name and click on the first option “Tag Configuration“.

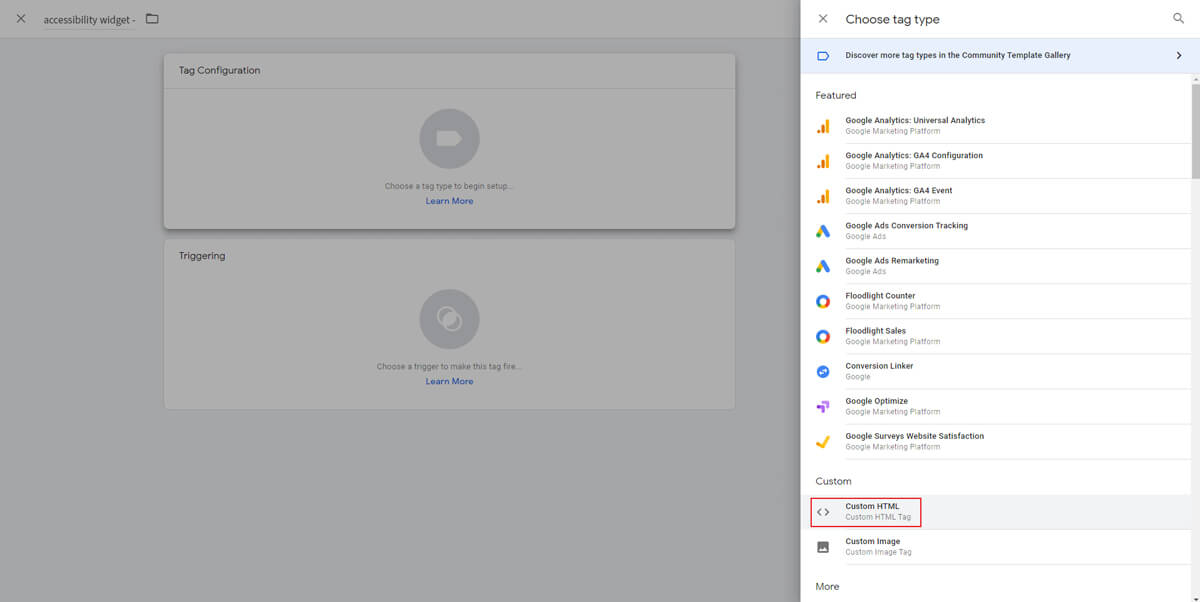
4. On the right side menu, scroll down and select “Custom HTML”.
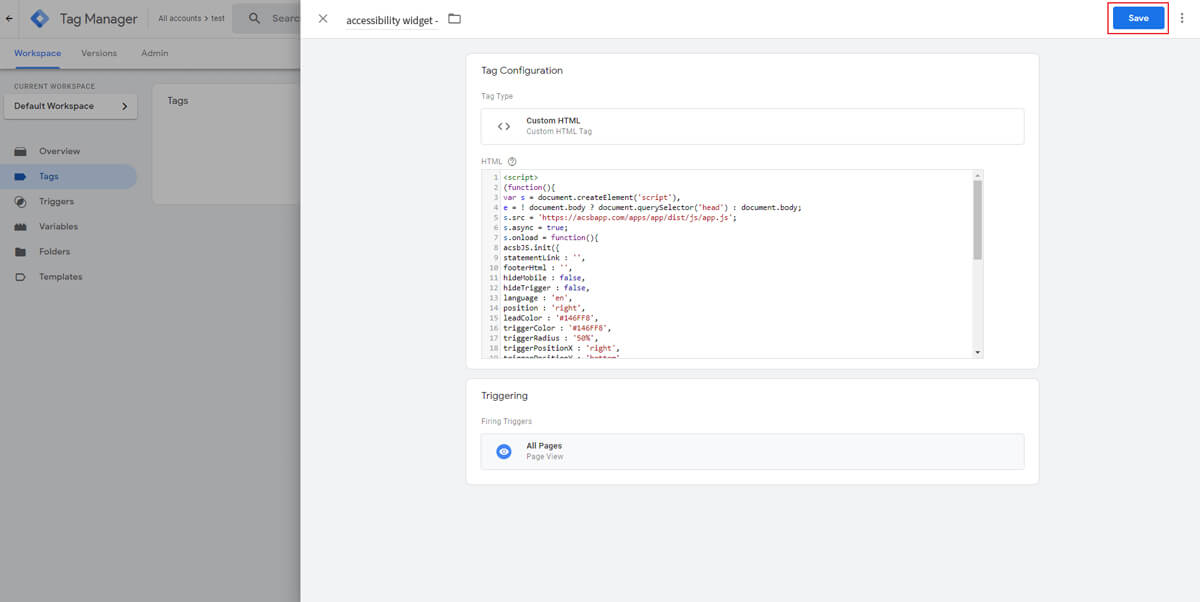
5. In the blank ‘HTML’ field, paste either your customized script or the standard provided script from Step 1 of the installation and customization instructions.
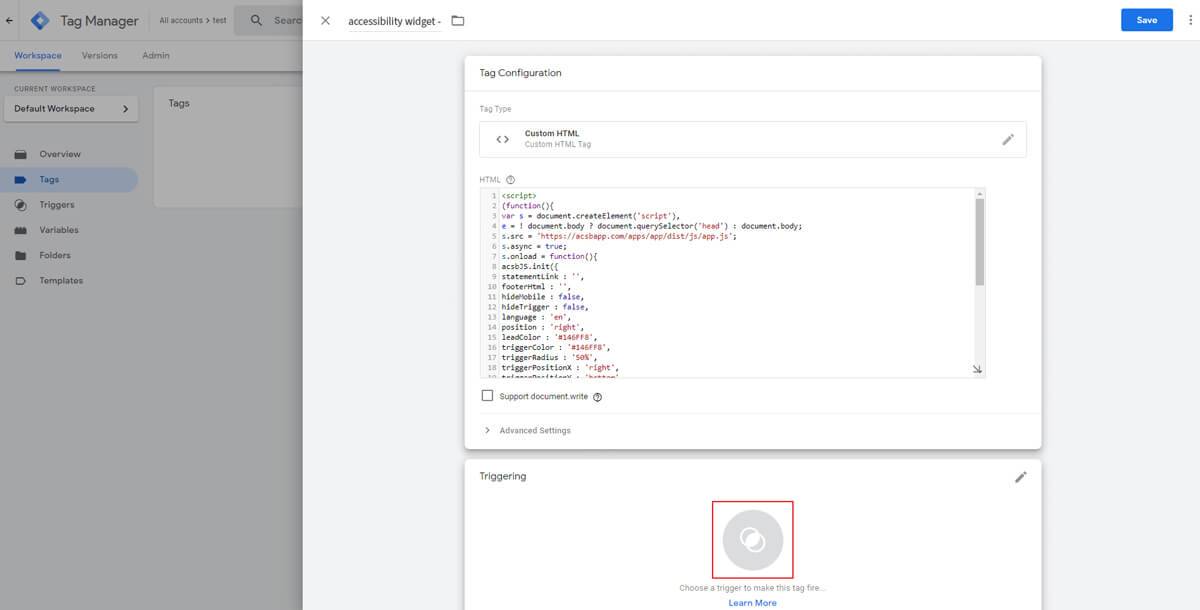
6. After pasting the script, just below it, you’ll see the “Triggering” area. Click it, or on the edit icon on the right.
7. In the new window that opens up, select “All Pages“.
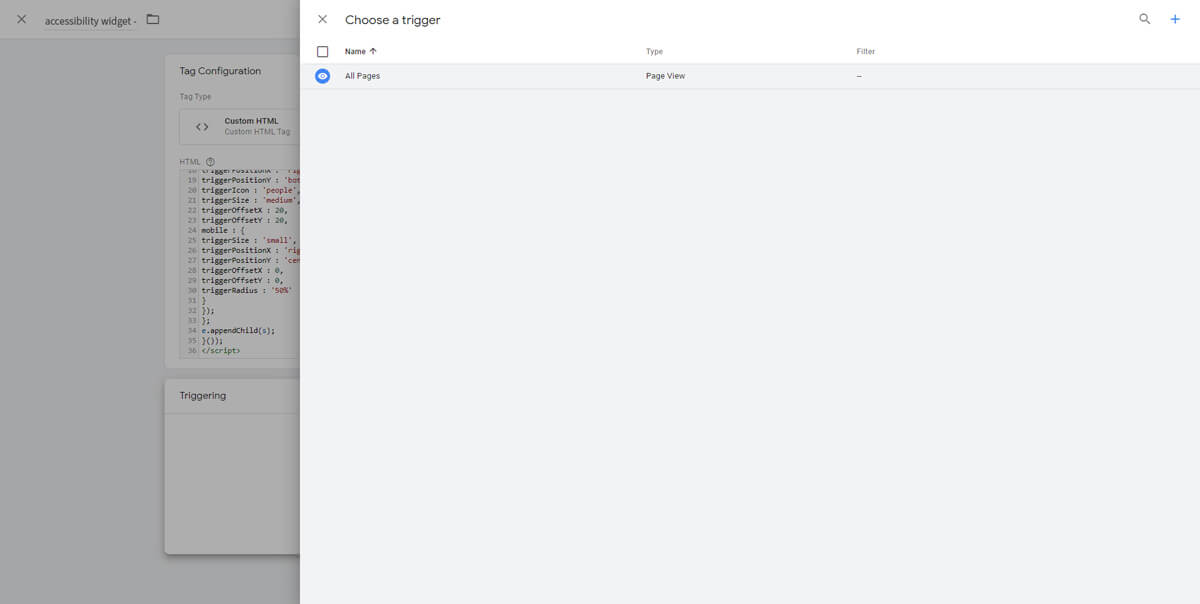
8. After clicking “All Pages“, Tag Manager will return you to the previous window, where you’ll need to click the “Save” button to save the tag.
9. After saving the tag, go back to the main screen of your account in Tag Manager and click the “Submit” button located on the top right.

After this, please proceed with Step 3 on the installation and customization instructions.
Find Out Now If Your Website Is WCAG & ADA Compliant
